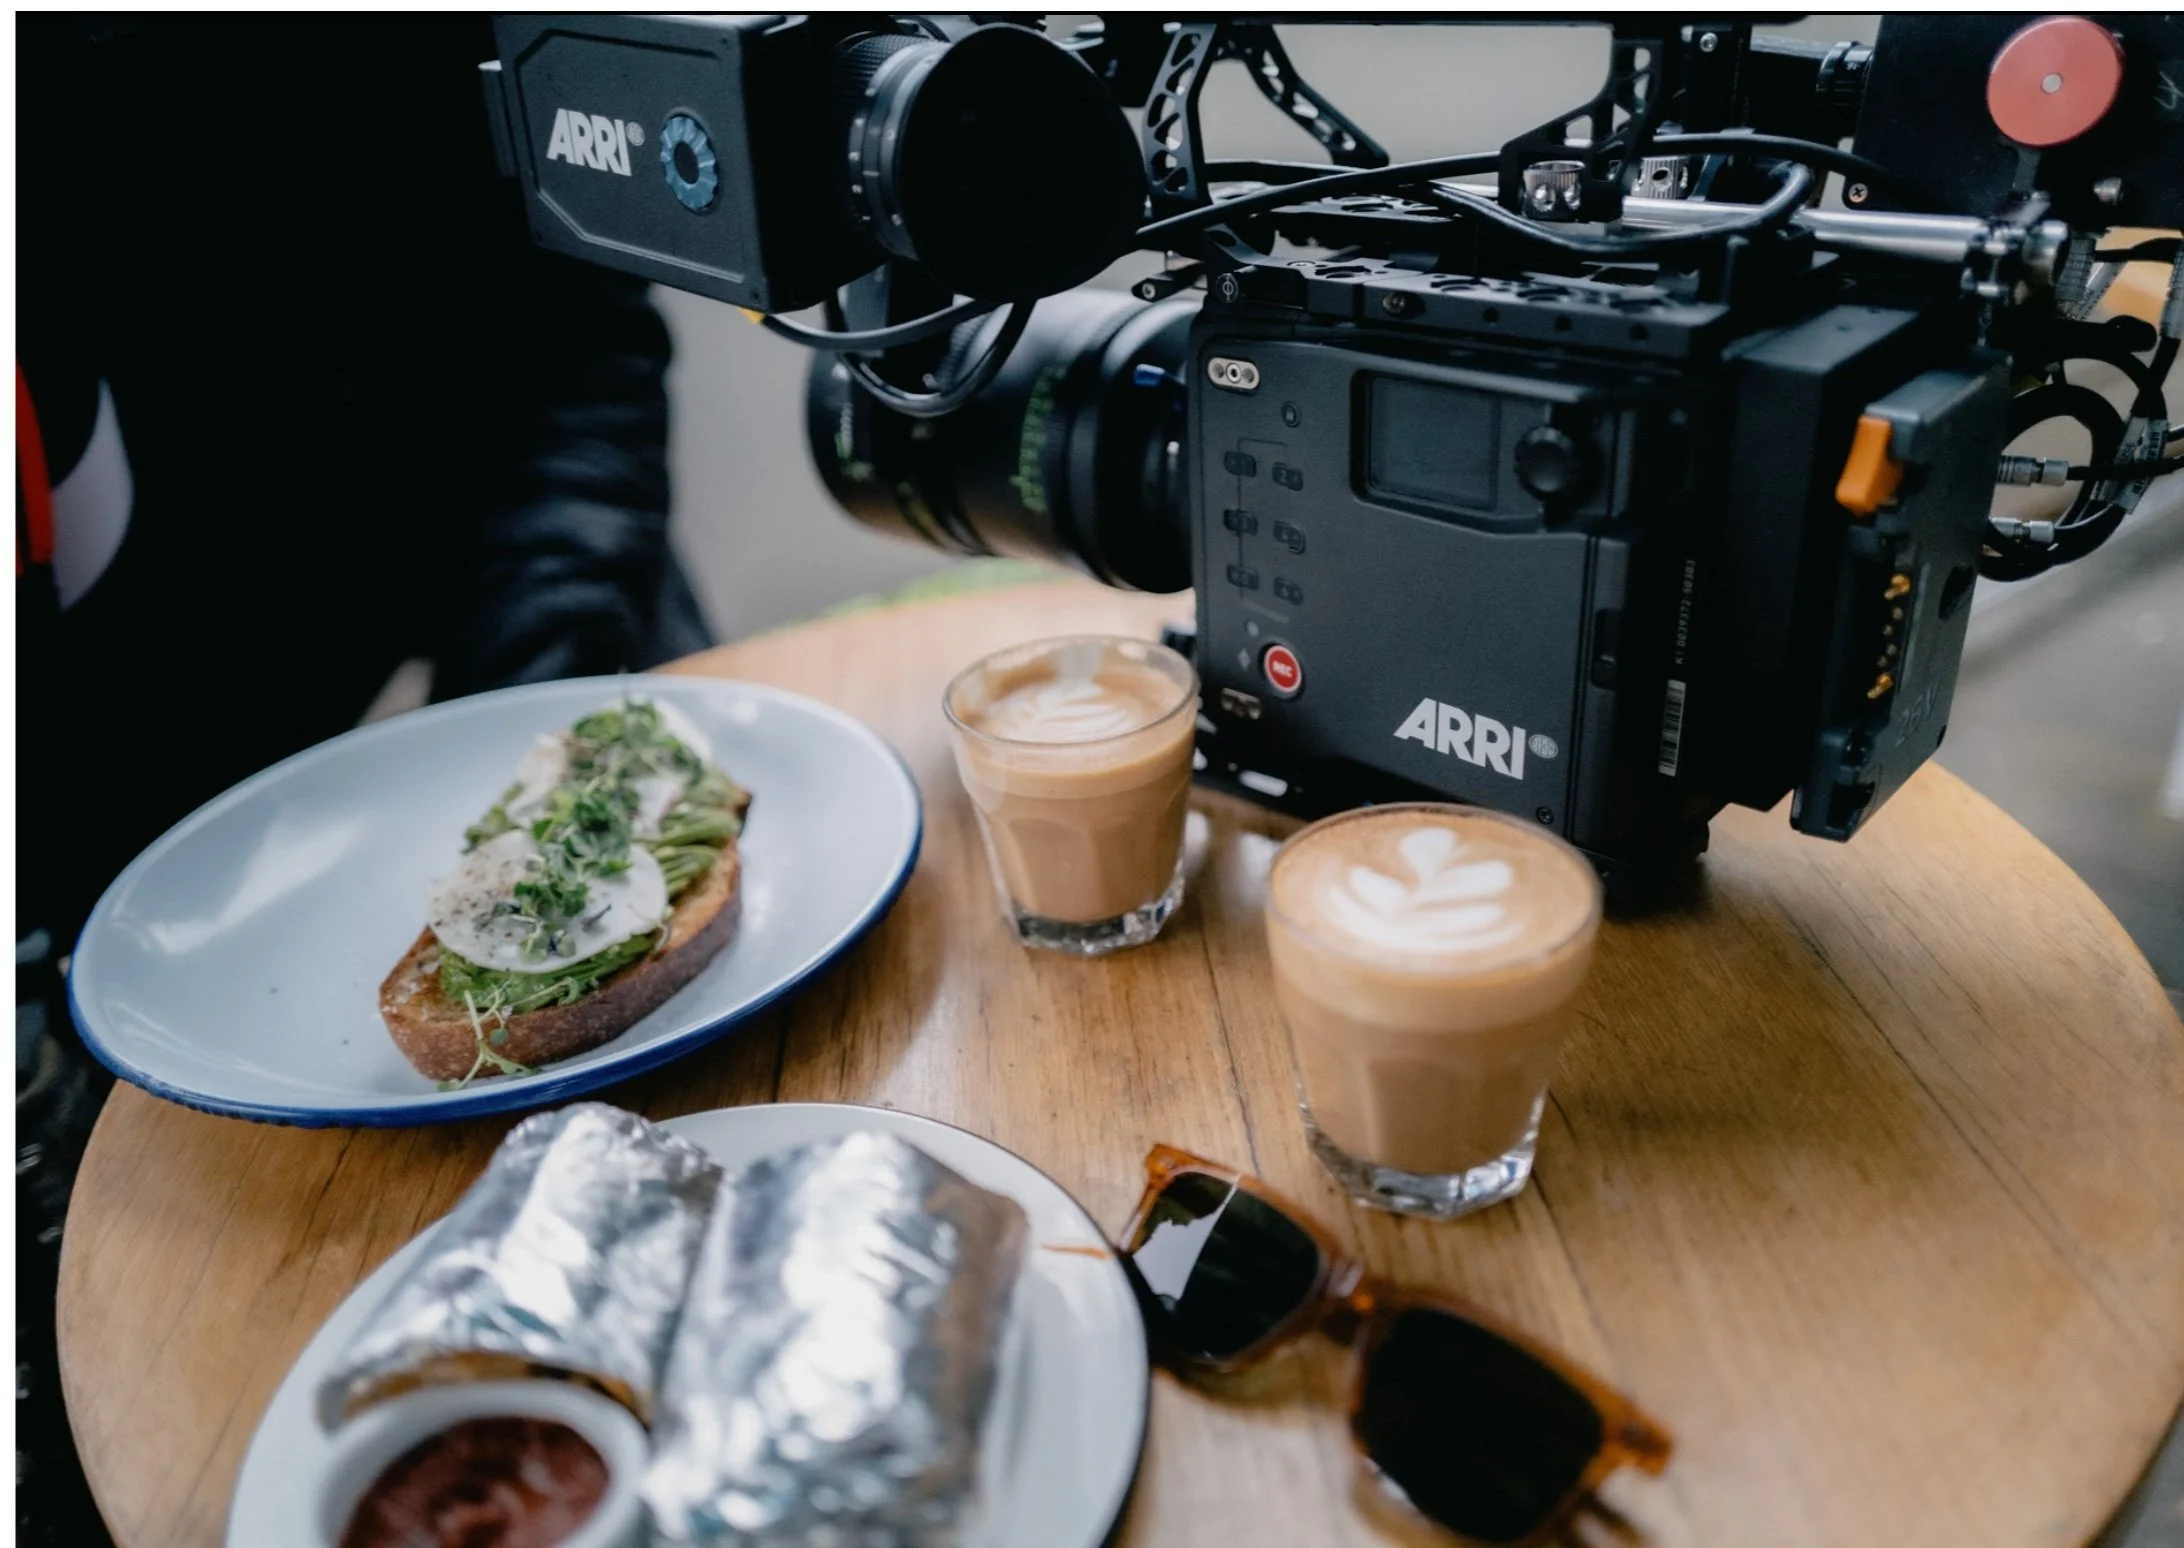
Alexa 35 Early Adopter Guide
Best practices for an early-transition from an Alexa to the all new: Alexa 35
Please keep in mind that this guide is for early-adopters. Software, firmware, and 3rd party support is rapidly developing.
This is coming from my perspective as a DIT that monitors/controls exposure and applies a show LUT using Pomfort LiveGrade. I should also note that there are a significant amount of people much more qualified than me to speak in technical terms beyond what I can comprehend, so please take this as a more down-to-earth approach at transitioning from an ALEV3 camera (Alexa miniLF, 65, mini, XT, etc) to the all new Alexa35 (REVEAL color science, aka, AWG4, aka, LogC4, aka, ALF4).
Quick overview:
The camera is a 26v system. It will not run on any 12v/14.4v batteries. The States will likely adopt Anton Bauer Gold Mount Plus, and the rest of the world will likely adopt the new B-mount system.
The side window and clicky button on the operator-side allows you to change most of your settings, playback, turn wifi on/off, and erase cards.
The viewfinder is the “same” as the miniLF one, but on the final production model, the screen is brighter and touchscreen capable IF you want to turn that feature on.
1TB mags from the miniLF work on the camera, though their high-frame rate capabilities are limited at 68fps for 4k 16:9 and 38fps on 4.6k open gate at the time of writing. On the new 2TB mags, those numbers jump up to 120fps and 75fps respectively in ArriRaw.
The body to body comparison puts this camera approx 1lb (0.45kg) heavier than a miniLF body.
It is possible to use the same readers as the miniLF, though keep in mind, that just like the miniLF, the USB-C puck reader will not work on M1 machines.
There is an all-new “textures pack”. Think of this as scrolling through your camera’s “landscape mode, portrait mode, etc”, but not as drastic. In fact, some of the changes between the more subtler textures are so fine, that it would require a big-screen and verbal countdown for you to see the differences. At the moment of writing, the textures selection is burned into the raw. If you are not deep-diving into an exploration of the textures pack, then the “LF Match” texture or “Default” texture will be your best bet.
Yes, there is a 2nd VF port on the back of the camera, but there is a stack of NDAs blocking my keyboard, so I am unable to type any further.
SDI1 and SDI2 are separable, one can be set to 12G-4K and another can be 1080p.
18% grey is much lower (more details below).
Color Space and LUTs:
The Log space is completely new and much larger of a space. Your existing LUTs will not cover the curve range that exists in this new color space and will look like a mild tint. Currently as of the time of writing, the conversion process is still in its early phases, so a good conversion method does not exist yet.
The easiest transition into this new camera is to stay in working with 709 space.
Set the camera to output ‘Log’ (which will display LogC4 for you).
For now, use one of Arri’s provided 65-point LUTs (ALF4 / AWG4 / LogC4 space), and modify it from there in LiveGrade or DaVinci to your liking. They are ready to go for plug and play usage.
Even though IS-Mini boxes only handle 33 point cubes, Livegrade will resize the cubes to fit the box.
Aces is currently not ratified by Arri for this color space, but that will likely change in the future with a proper IDT/LMT, etc.
Monitoring:
Super important to note that the 18% gray value of LogC4 is now at IRE 28% instead of 39%. In human-terms, this means that the log image will look dark/down/underexposed on your Leader/false color/waveform device. This is correct. The false color values applied by 3rd party vendors will need to be adjusted.
The image will appear underexposed in log and underexposed in the Leader, and upon application by the ALF4 LUT, the image will seemingly “brighten”. This is because of where the 18% gray is located now due to so much more information in the low-end.
If you are exposing simply by an image on a monitor, expose to this LUT’ed image. Again, the darkened log/raw image is correct based on where gray is.
The new values are available from Arri, and when all else fails, the in-camera false color is always a perfect indicator. New false color parameters are below as well.
Post software and Transcoding:
At the time of writing (which will be very-quickly irrelevant), the only software that can view/grade the arriRaw files from this camera are a beta version of DaVinci resolve which includes the Alexa35 code, and a beta version of Silverstack Lab from Pomfort (which is only available via direct request, as a temp license must be issued with it).
The DaVinci Beta software can view/grade/scrub through the files from this camera, but you will not be able to play back better than 4-5fps. Transcoding will also run at about 3-5fps on the latest and greatest machines, and about 10-18fps on the previous generation Mac Pro Trashcan.
Currently, I’d recommend transcoding to DNX115 for editing and/or test grading.

